At Jali we are big fans of Kimberly Duran, whose Swoon Worthy blog is full of DIY decorating inspiration and ideas. Having recently completed a major dining-room makeover, she’s now got another project: finally finishing her kitchen.
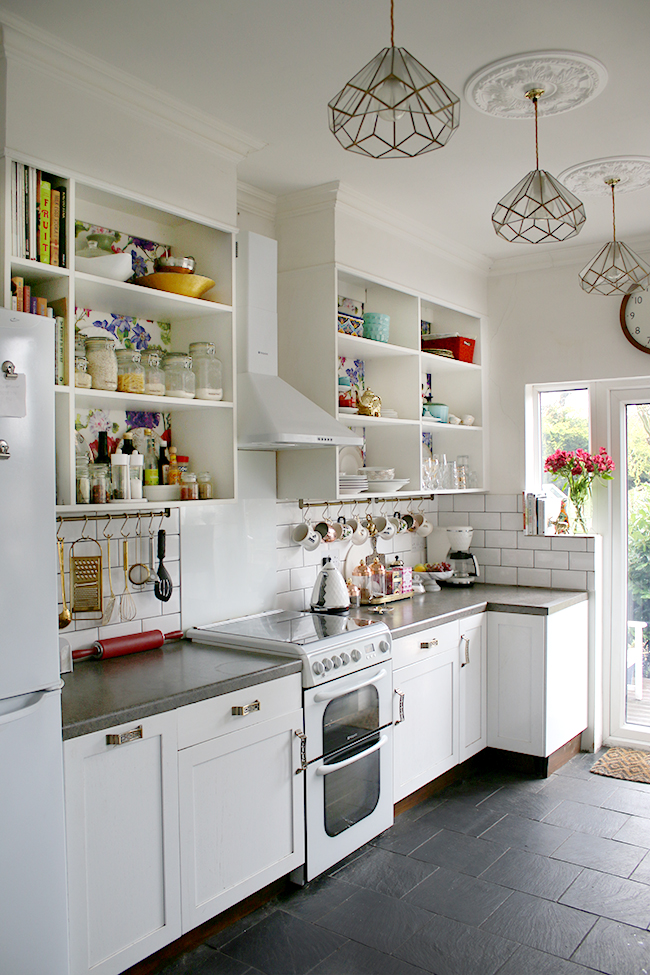
As seen in these shots by Kimberly, it looks pretty fine to us right now, but the girl is nothing if not a perfectionist. So she’s planning to replace tiles, worktops and sink, paint her cupboards and a few wee things besides, I imagine. Just writing this makes me want to go for a little lie-down.
One thing Kimberly still seems happy with is her Jali Flexi shelving, which makes us very happy. And she’s managed to give them a whole new look without major effort or expense. Her secret? Putting decorative paper on the wall behind the open shelves. And she’s now done it twice.
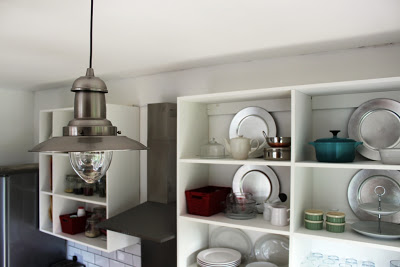
Here’s the original paperless version, just after the Flexi shelves went up in 2011:
You can find lots more on the installation here. And here’s the shelving with Kimberly’s first wallpaper choice:
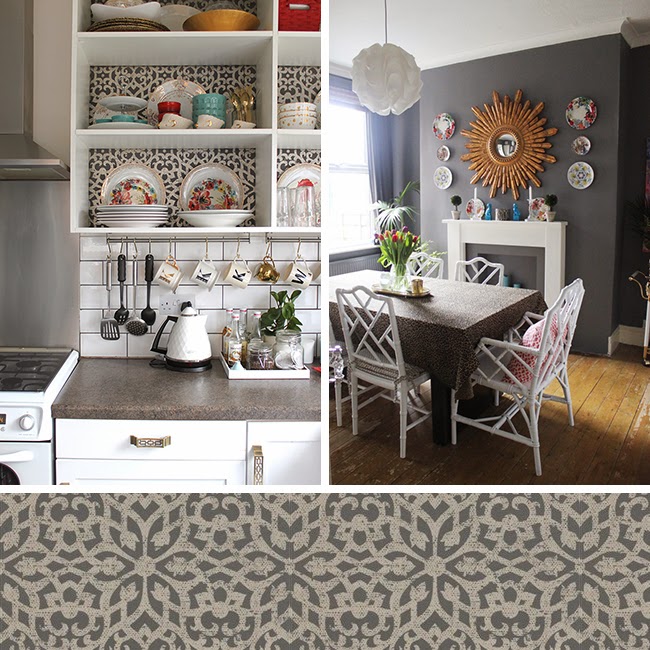
As her dining room and kitchen are connected to each other through a large doorway between the rooms, Kimberly likes to use co-ordinating colours in her decorative schemes, as shown above. This helps the spaces flow into each other, so they are tied together rather than jarring. So this pattern worked beautifully at the time.
Then the ever-energetic Kimberly revamped the dining room and things changed again.
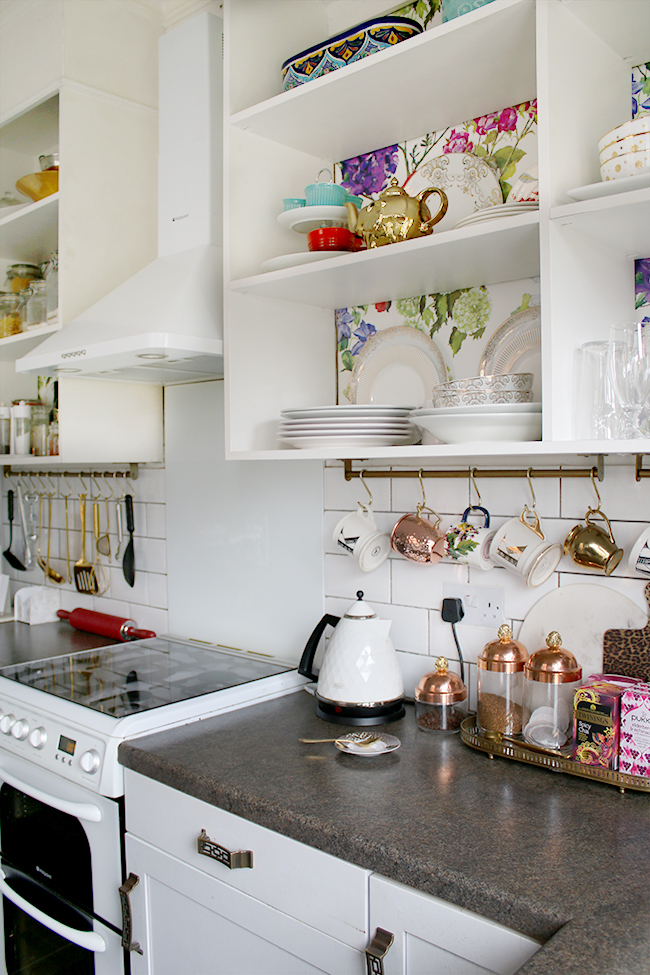
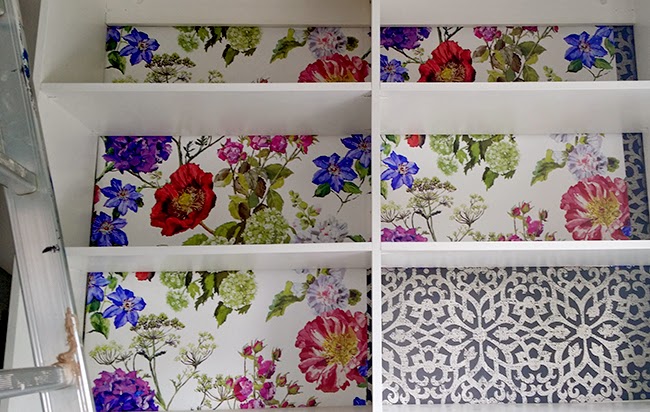
So in the kitchen a bright floral Designers Guild wallpaper (the DIY equivalent of new shoes or bags `- lovely!) replaced the grey. Here’s the update in progress, (right).
As the previous surface was sound, Kimberly wisely decided to paper over it. As long as you remove anything loose and and stick down any bad seams, there is absolutely no need to take the original paper off.
And the newly-papered shelves in use: a brand-new look, with minimum work and expense, as only one roll was needed and the remaining paper was used elsewhere.
Kimberly also has some valuable DIY advice for the rest of us, from hard-won experience. She was dreading the forthcoming struggle but: “This time, instead of trying to squeeze the wallpaper in big sections behind the unit, I decided to cut the paper into opening-sized segments so that the seams met behind the shelves and with the wallpaper being a ‘paste the wall’ product, it was SO easy to use. Oh my god, no bubbles, no tearing, nothing. This stuff goes up like a dream!!”
That’s good enough for me: it’s ‘paste-the-wall’ every time for me now… There are more lovely ‘before and after’ shots on Kimberly’s blog. And here is the girl herself, in front of her Jali radiator cabinet – obviously a woman of impeccable taste!